Enrolling a Lighthouse
Every new network already includes a managed lighthouse, so this step is optional. Follow this guide if you'd prefer to run your own lighthouse for more control over your network infrastructure.
In a Managed Nebula network, hosts discover each other via lighthouses. To create a lighthouse, you will need a lightweight server on a persistent public IPv4 address. Additionally, you'll want to use a machine that is always-on rather than a serverless platform, since the lighthouse is a stateful process.
To start enrolling a lighthouse, visit the hosts page of the admin panel and choose "Add lighthouse" from the "Add host" menu.
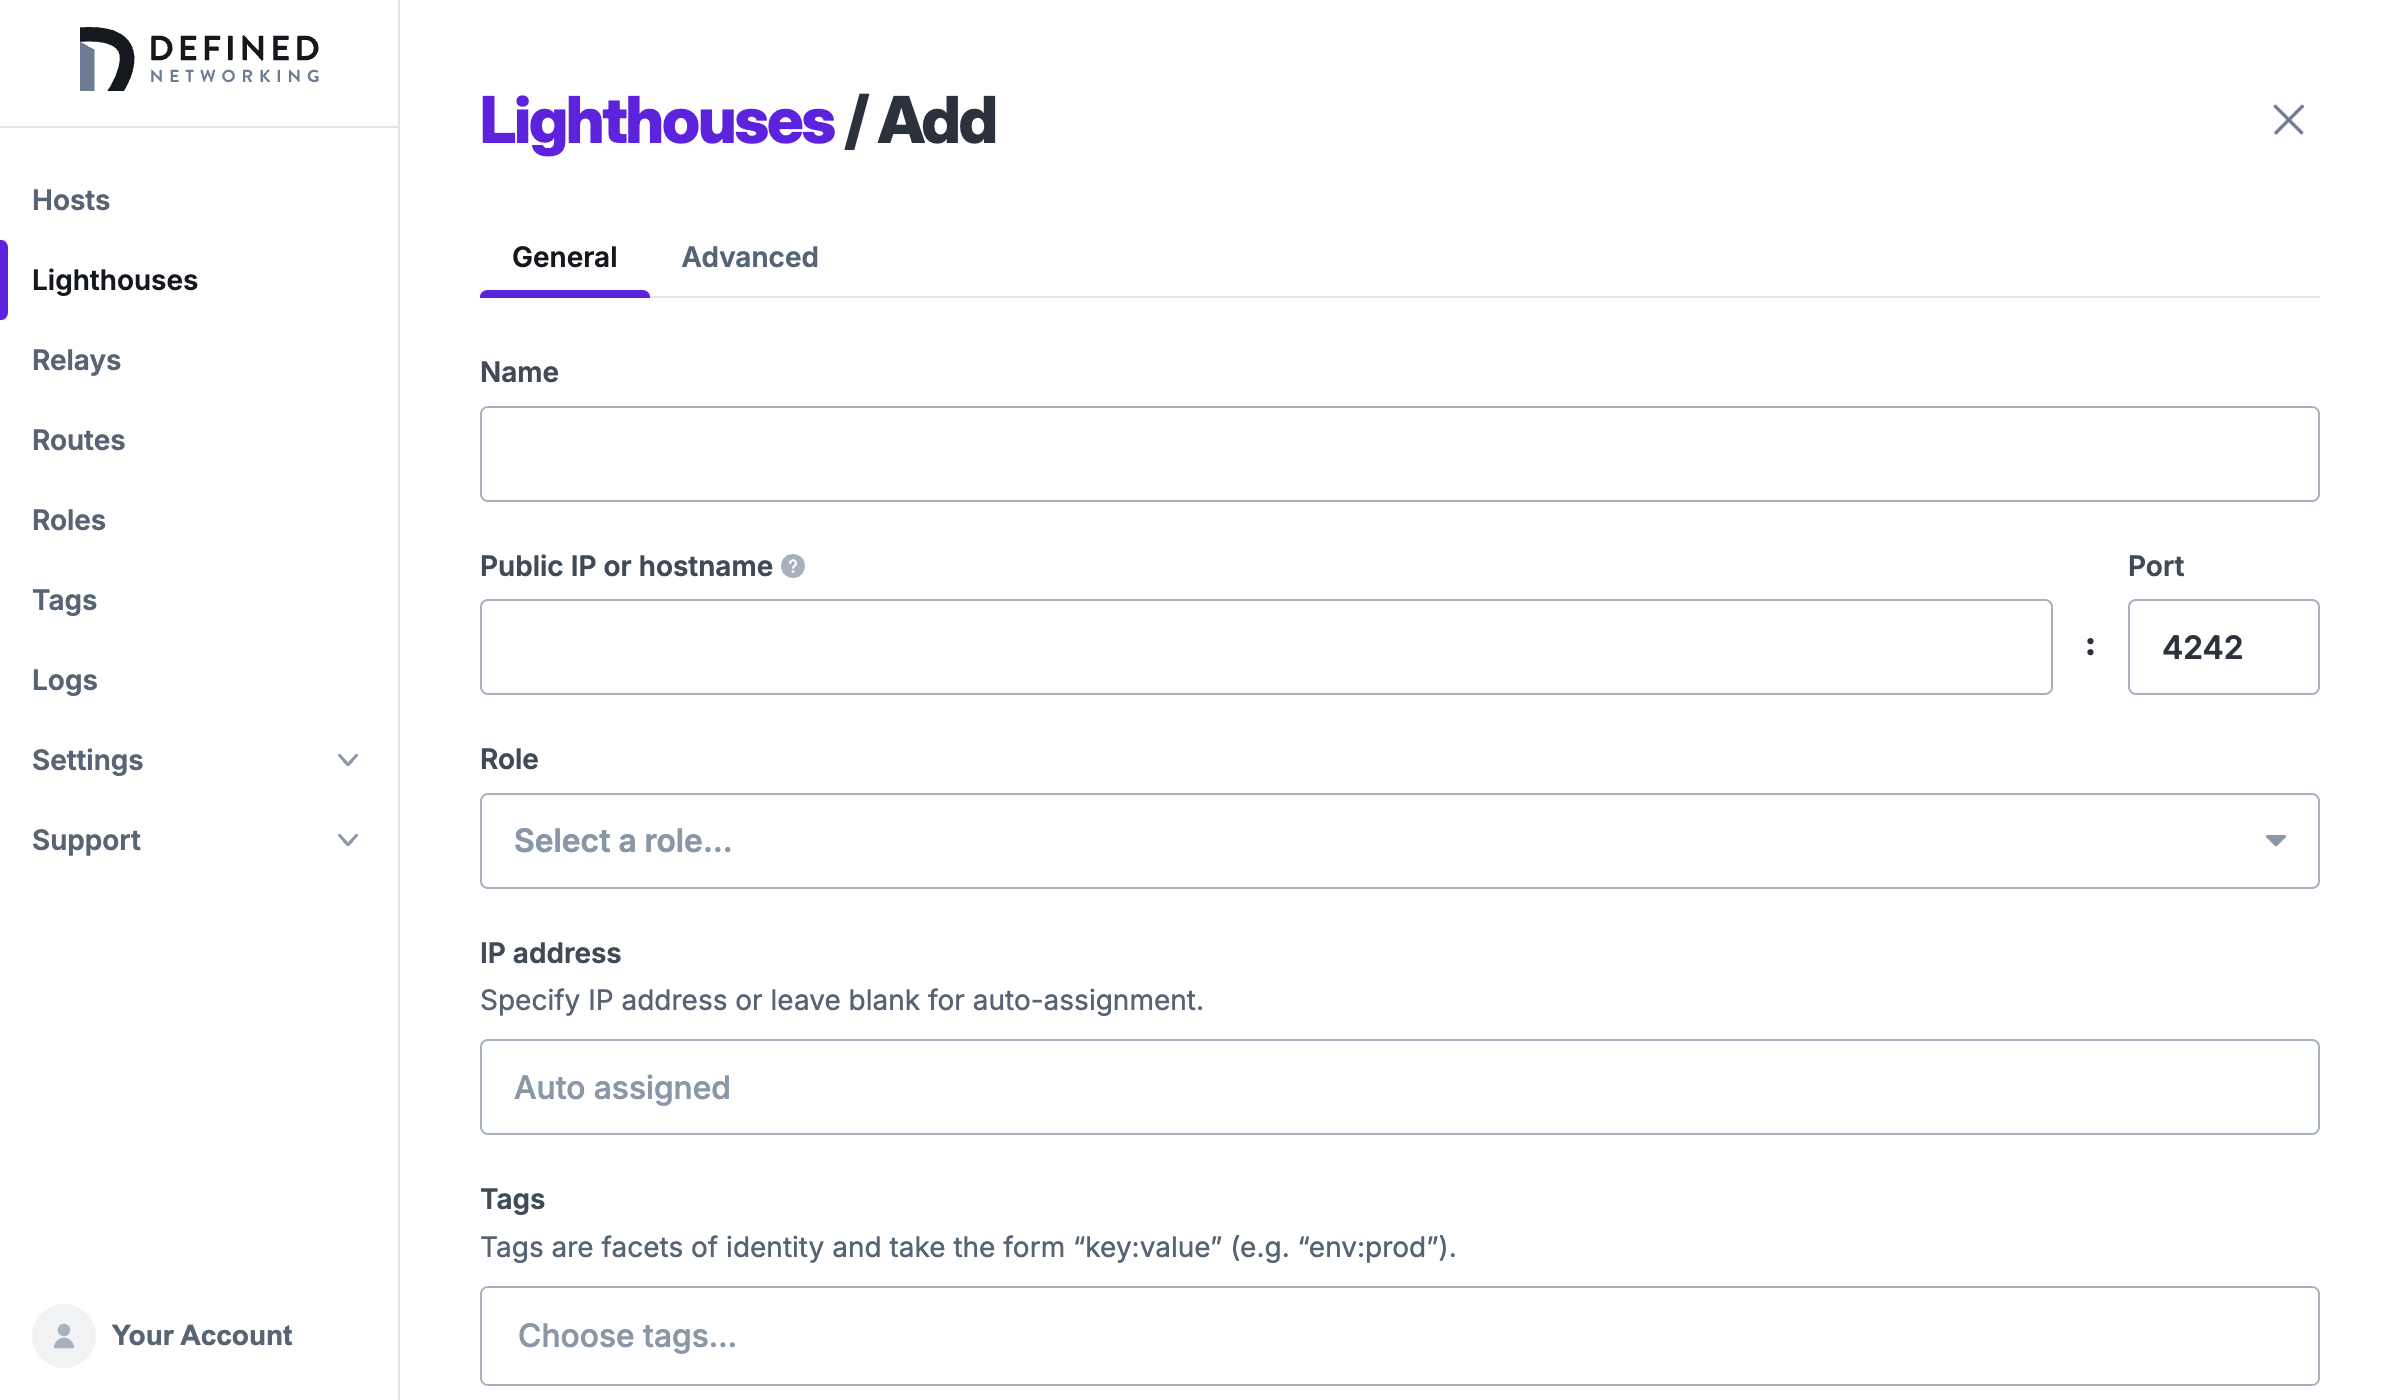
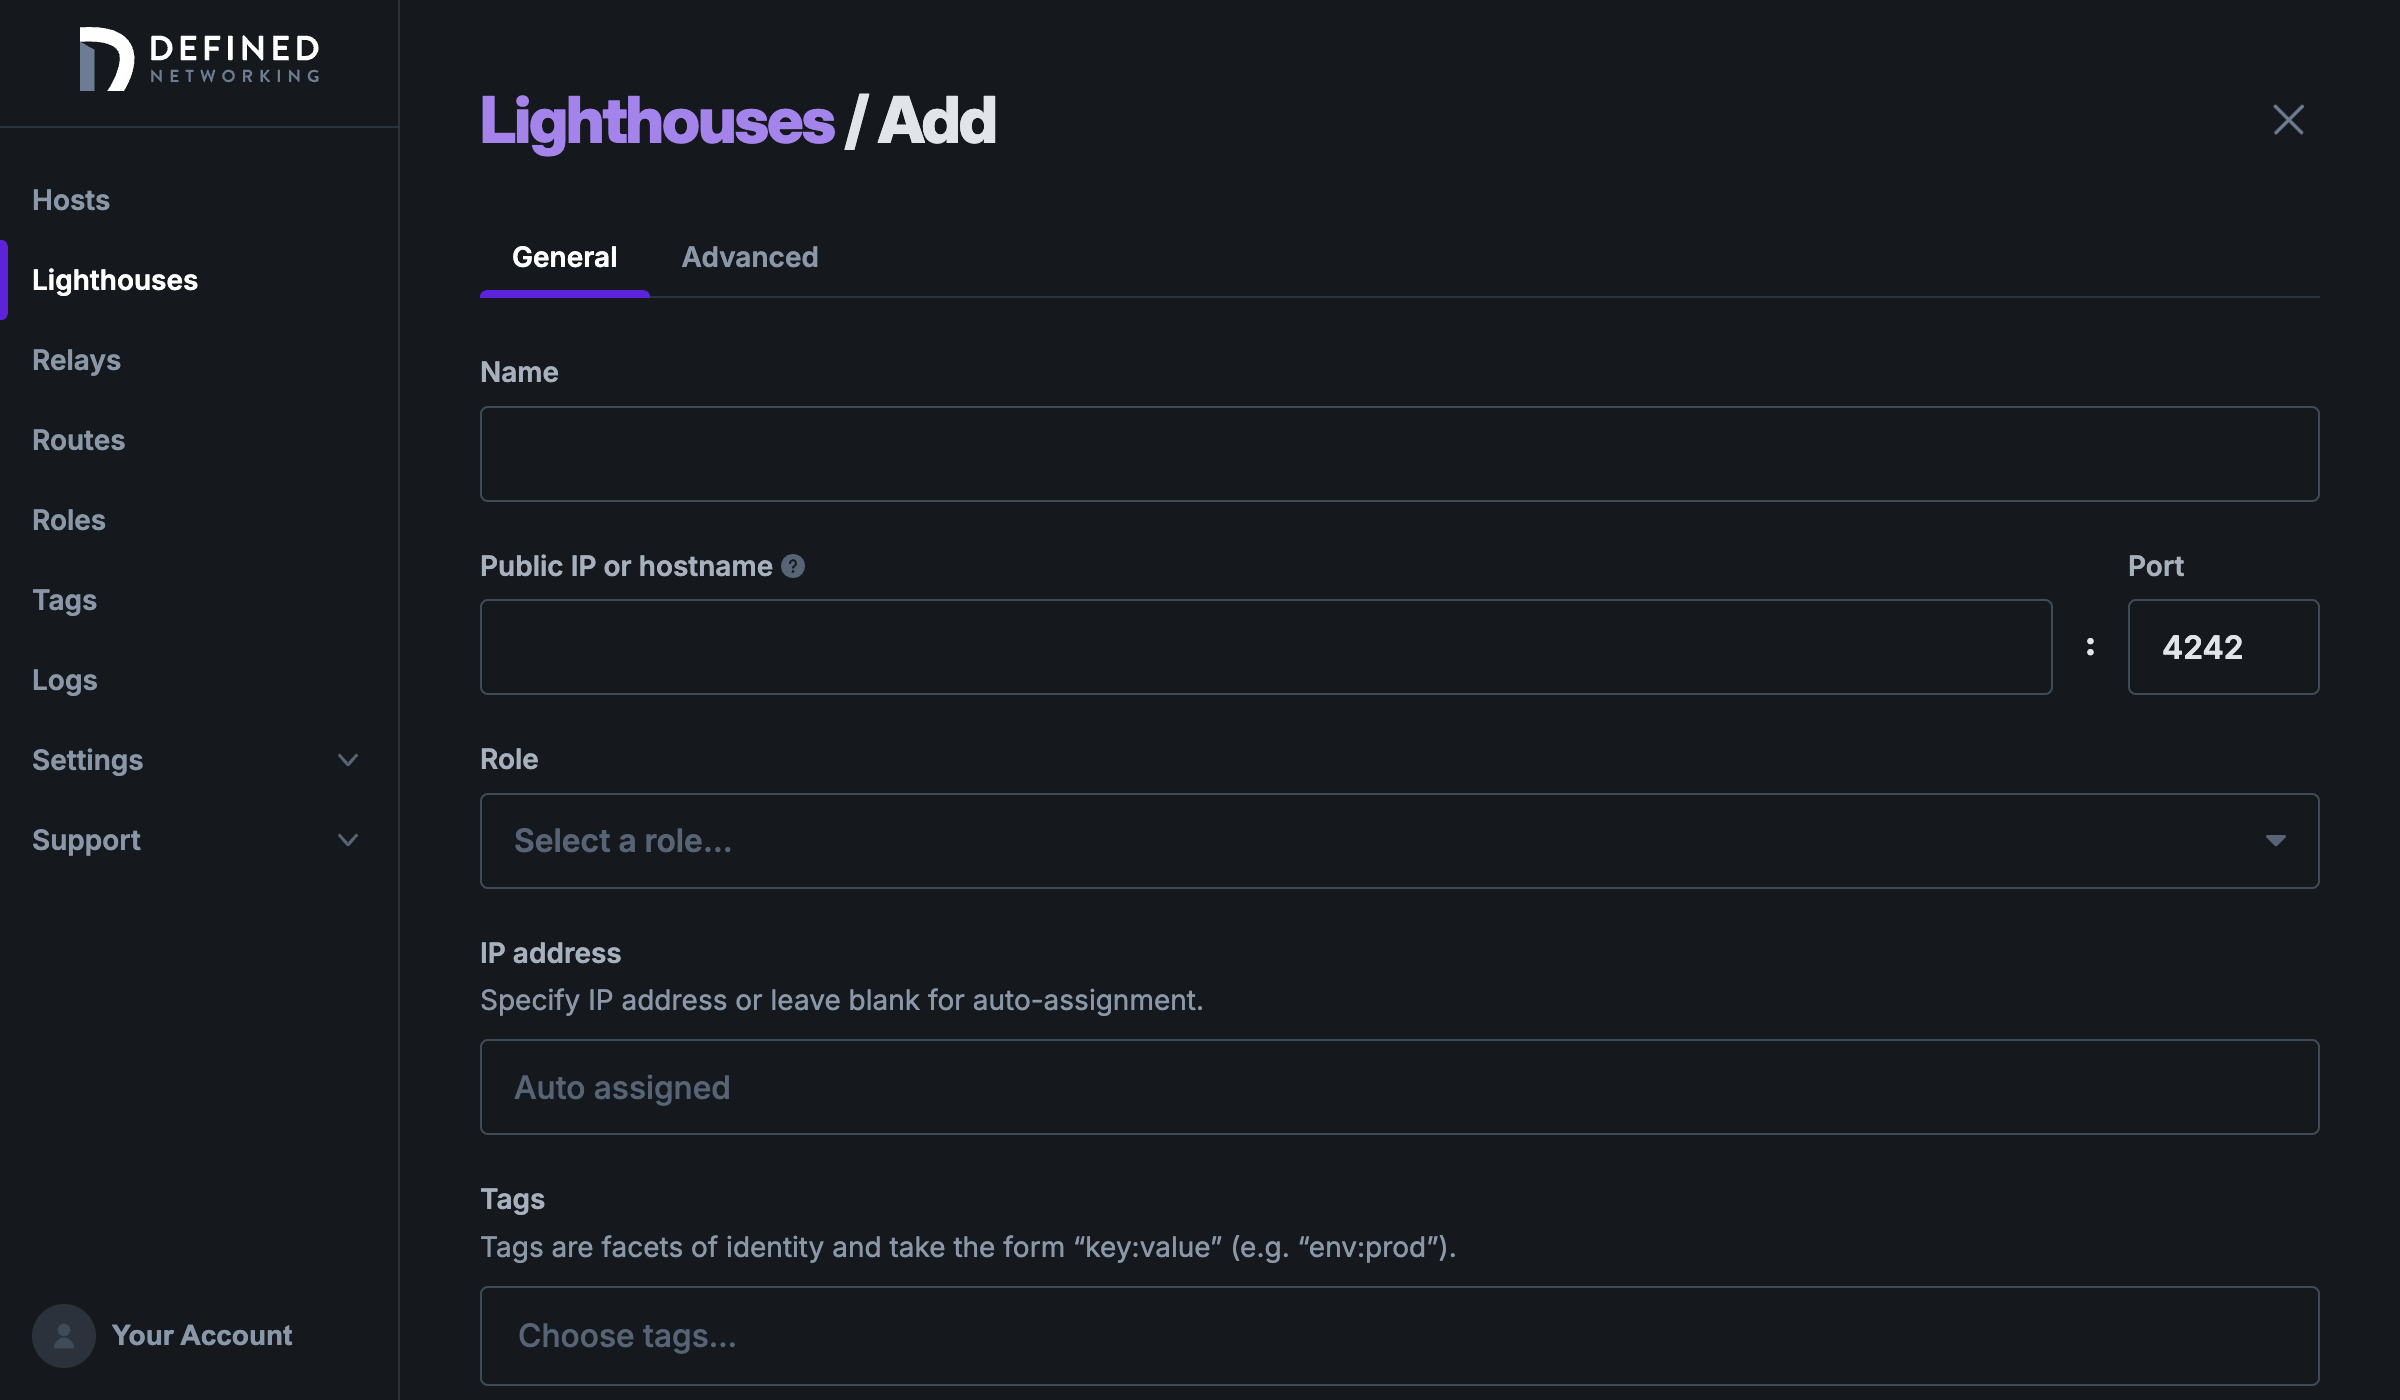
Give the lighthouse a name and enter the machine's public IPv4 address and the port you opened to allow UDP inputs (default 4242). You can also assign the lighthouse a role, which controls what inbound traffic it accepts from other hosts — choose an existing role or create a new one directly from the dropdown. Newly created roles only accept ping requests from other hosts, which is handy for verifying connectivity. You'll be able to edit the role's firewall rules later if desired.
You’ll need to open the machine's firewall for UDP port 4242 (or some other configured port) in order for any host to be able to query the lighthouse, on both IPv4 and IPv6 ports to allow hosts on all types of networks to communicate.
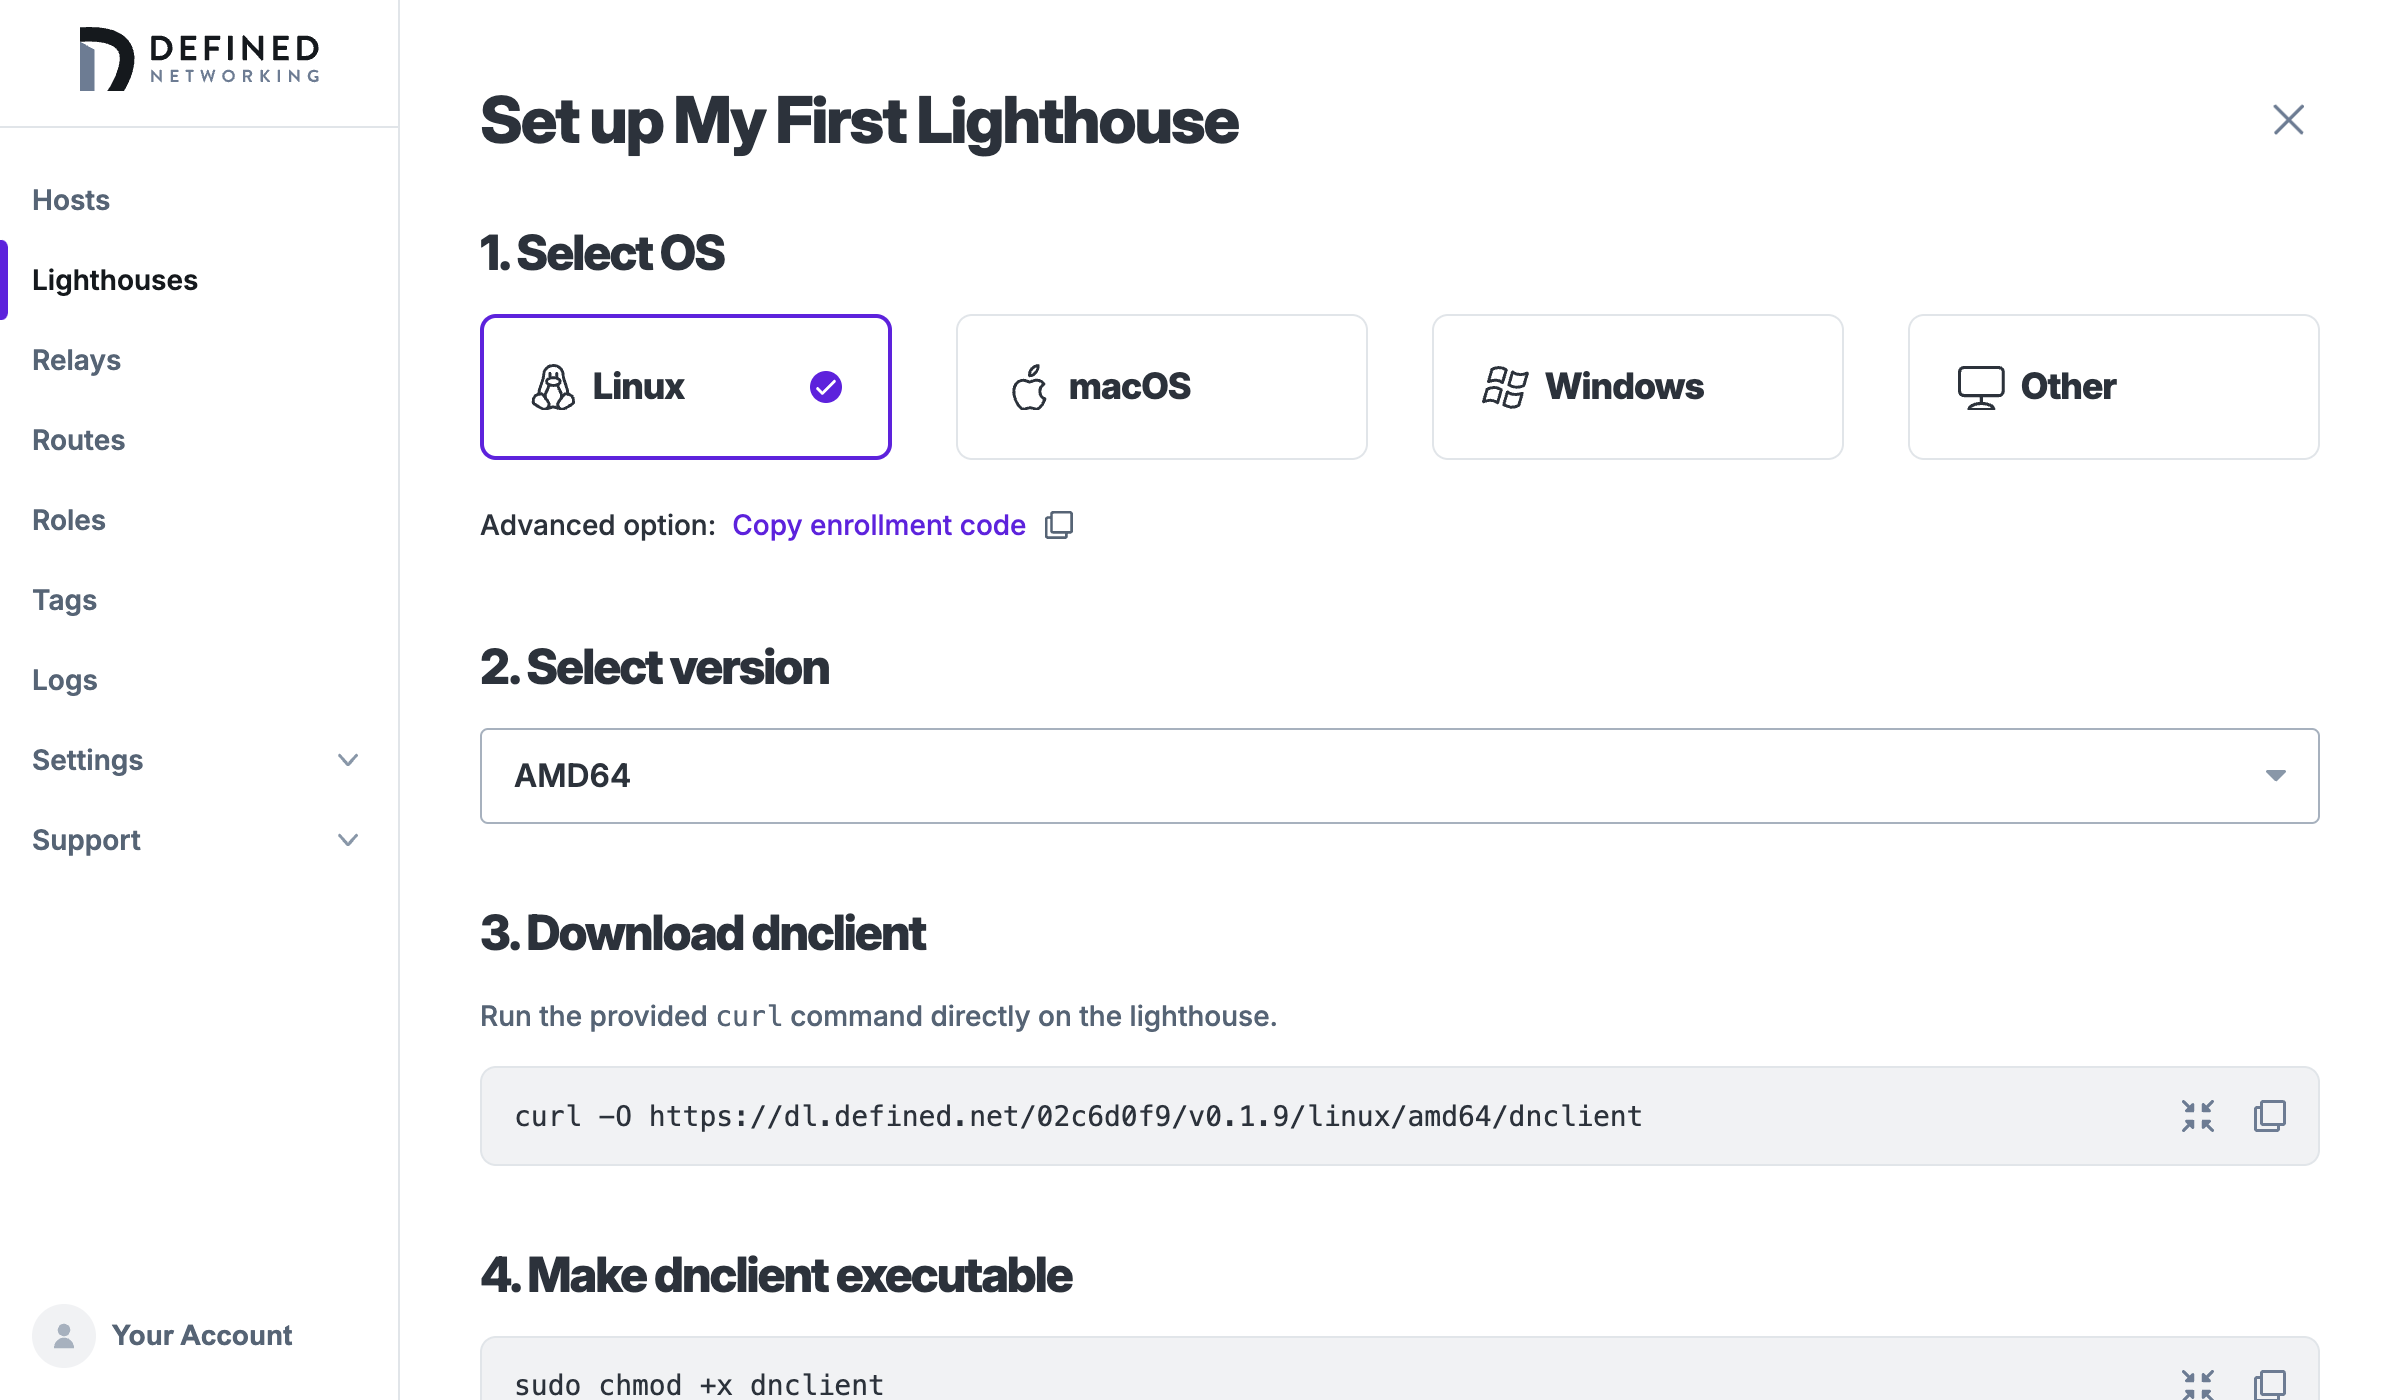
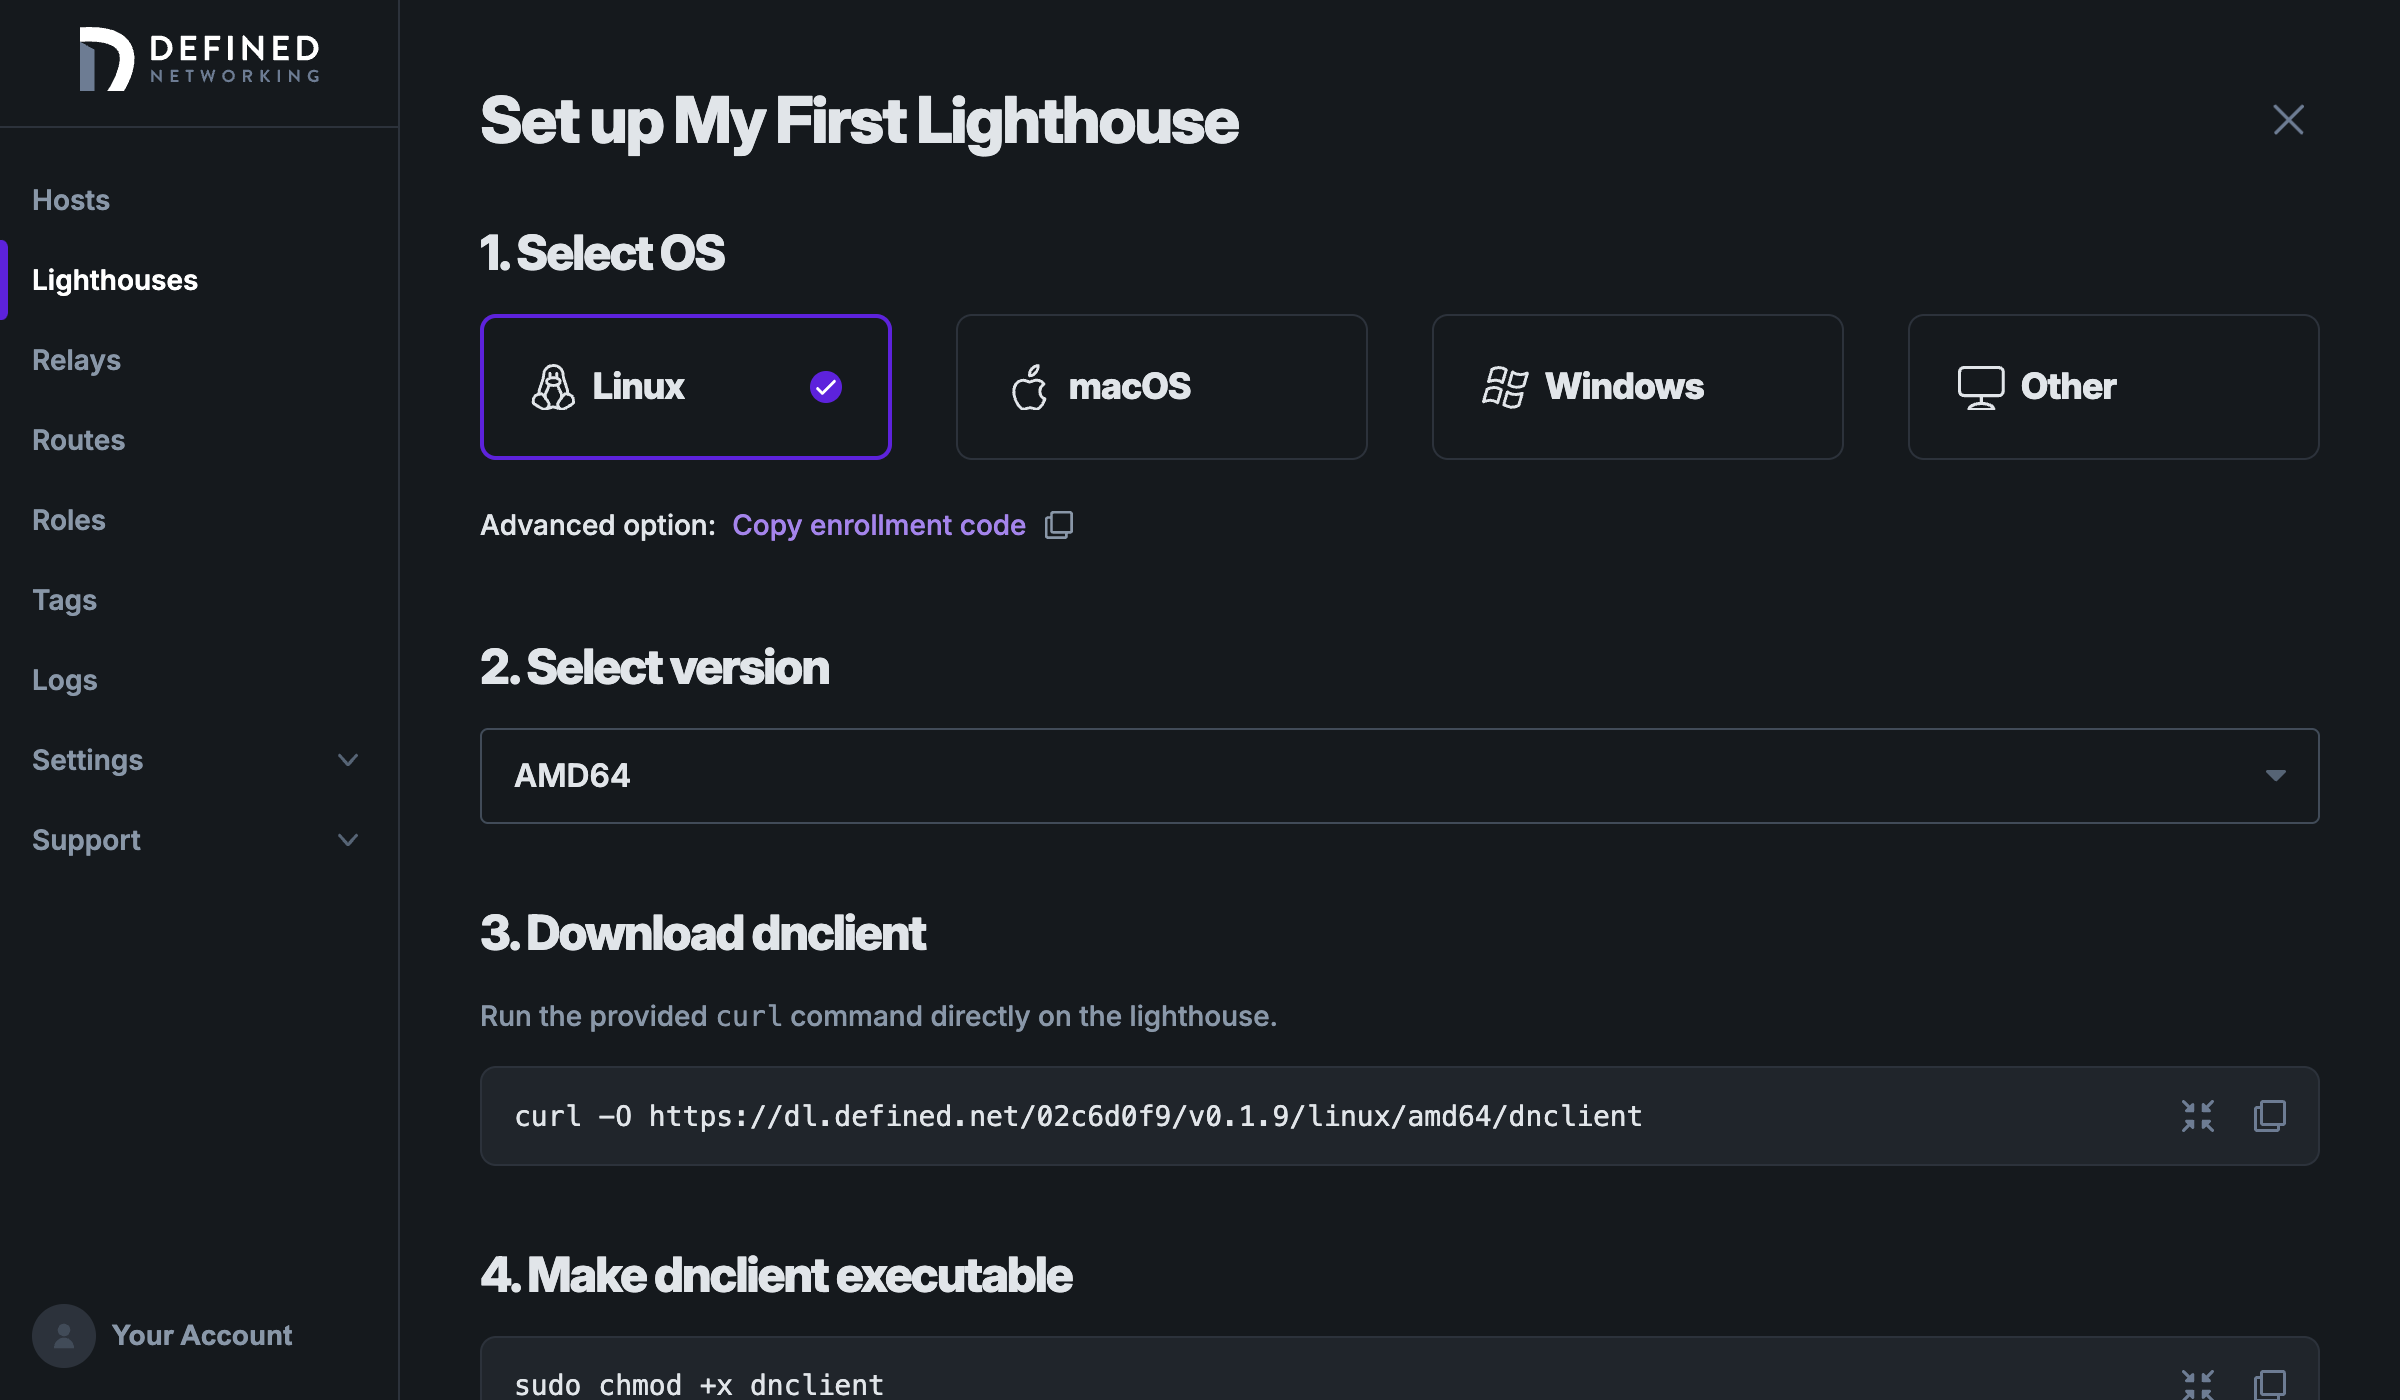
Now that you have created your lighthouse, choose your host's operating system and version, then follow the instructions in the admin panel to install DNClient, start it as a startup service, and enroll the machine into the Managed Nebula network.
Once you’ve enrolled a lighthouse, you can start setting up other hosts and using ping with their Managed Nebula IP addresses to verify that they are able to communicate with each other via the lighthouse over your Managed Nebula network.